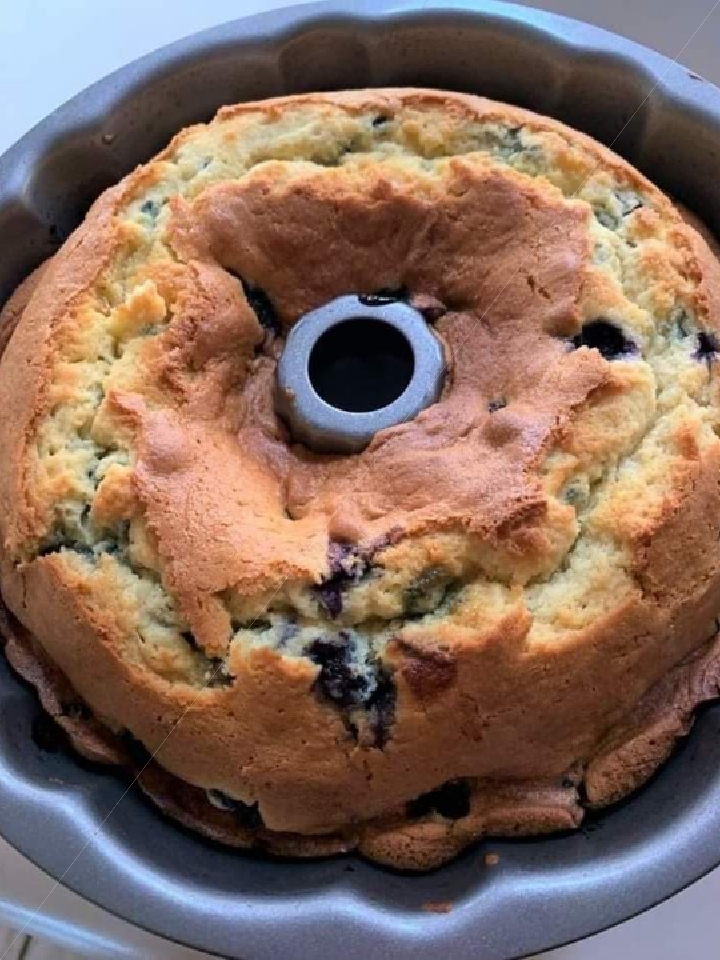
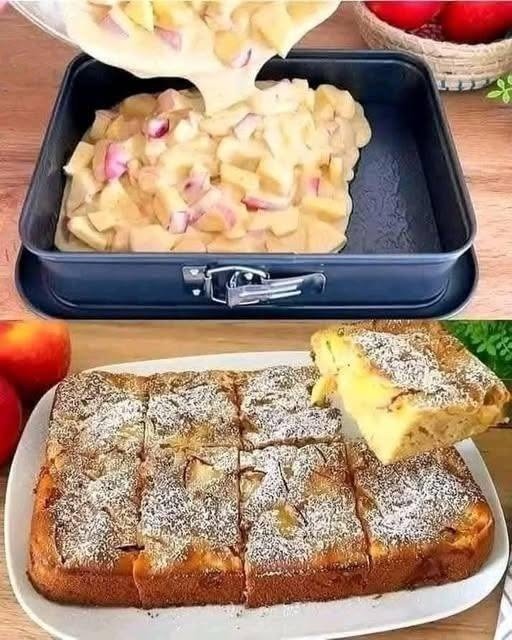
Looking for the famous apple pie that melts in your mouth? This simple and easy homemade apple pie recipe uses fresh apples, pantry staples, and comes out soft, moist, and delicious every time.
The Famous Apple Pie That Melts in Your Mouth
A Cozy Family Favorite I Keep Coming Back To
I honestly can’t count how many times I’ve made this apple pie. It started as one of those recipes I wanted to try because everyone seemed to be talking about it, and after the first bite, I completely understood why. The texture is incredibly soft, the apples become perfectly tender, and the whole kitchen smells like warm cinnamon-free apple goodness.
What I love most is how simple it is. I usually make this on weekends when I have a few extra apples sitting on the counter that need to be used. It doesn’t require fancy ingredients or complicated techniques, which makes it perfect even if you’re new to baking.
If you’re looking for an easy homemade apple pie that’s moist, fluffy, and practically melts in your mouth, this recipe is definitely worth saving.
Ingredients
You’ll only need a handful of everyday ingredients:
- 4 medium apples (about 500 g), chopped into small dice (leave the peel on)
- 3 large eggs
- 180 ml milk
- 150 g cane sugar
- A pinch of salt
- 300 g all-purpose flour
Optional Additions
These aren’t required, but I sometimes like adding:
- 1 teaspoon vanilla extract
- 1 teaspoon baking powder for a lighter texture
- ½ teaspoon ground cinnamon
- Powdered sugar for dusting before serving
Step-by-Step Method
Step 1: Prepare the Apples
Wash the apples thoroughly since you’ll be leaving the peel on. Cut them into small, even cubes. Smaller pieces distribute better throughout the batter and become wonderfully soft while baking.
Step 2: Mix the Wet Ingredients
In a large mixing bowl, whisk together the eggs, milk, cane sugar, and a pinch of salt until everything is smooth and well combined.
If you’re using vanilla extract, stir it in now.
Step 3: Add the Flour
Gradually add the flour while mixing continuously to prevent lumps. If you’re using baking powder or cinnamon, mix them with the flour before adding.
The batter should be smooth, thick, and creamy.
Step 4: Fold in the Apples
Add the chopped apples to the batter and gently fold them in until every piece is coated evenly.
I usually use a spatula for this step because it keeps the apples from breaking apart.
Step 5: Bake
Preheat your oven to 180°C (350°F).
Grease an 8-inch or 9-inch baking pan or line it with parchment paper.
Pour the batter into the prepared pan and spread it evenly.
Bake for 40–50 minutes, or until the top turns golden brown and a toothpick inserted into the center comes out clean.
Step 6: Cool and Serve
Allow the pie to cool for about 15 minutes before slicing.
If you like, dust the top with powdered sugar for a beautiful homemade finish.
Cooking Tips
- Use naturally sweet apples for the best flavor.
- Dice the apples into small pieces so they soften evenly.
- Don’t overmix the batter after adding the flour.
- Check the pie about 40 minutes into baking since every oven cooks a little differently.
- Let it cool slightly before cutting so the slices hold together nicely.
- Store leftovers in an airtight container for up to three days at room temperature or refrigerate for up to five days.
Serving Suggestions
This apple pie is delicious on its own, but here are a few of my favorite ways to serve it:
- Warm with a scoop of vanilla ice cream
- With freshly whipped cream
- Alongside a cup of coffee or hot tea
- Drizzled with warm caramel sauce
- Topped with chopped walnuts or pecans for extra crunch
It’s just as good for breakfast with coffee as it is for dessert after dinner.
Nutrition Information (Approximate Per Serving)
Based on 8 servings.
- Calories: 250 kcal
- Carbohydrates: 45 g
- Protein: 7 g
- Fat: 5 g
- Saturated Fat: 2 g
- Fiber: 3 g
- Sugar: 22 g
- Sodium: 110 mg
Nutritional values are estimates and may vary depending on the ingredients used.
Why You’ll Love This Recipe
- Made with simple pantry ingredients
- Soft, moist texture that melts in your mouth
- Perfect for beginner bakers
- Great way to use fresh apples
- Budget-friendly and family approved
- Delicious warm or cold
Frequently Asked Questions
1. What are the best apples for this recipe?
Firm, sweet-tart apples like Honeycrisp, Gala, Fuji, or Pink Lady work wonderfully because they hold their shape while baking.
2. Can I peel the apples?
Absolutely. I usually leave the peel on because it adds color, texture, and extra fiber, but peeled apples work just as well.
3. How do I know when the pie is fully baked?
Insert a toothpick into the center. If it comes out clean or with just a few moist crumbs, the pie is ready.
4. Can I freeze this apple pie?
Yes. Let it cool completely, wrap it tightly, and freeze for up to two months. Thaw overnight in the refrigerator before serving.
5. Can I add spices or nuts?
Definitely. Cinnamon, nutmeg, chopped walnuts, or pecans all pair beautifully with the apples and add extra flavor and texture.
Conclusion
This famous apple pie has become one of those recipes I always come back to because it’s incredibly easy, consistently delicious, and loved by everyone who tries it. The combination of tender apples and soft, cake-like texture makes every bite comforting and satisfying. Whether you’re baking for family, guests, or simply treating yourself, this recipe delivers homemade goodness without any complicated steps.
I usually bake an extra one whenever friends are coming over because it disappears much faster than you’d expect. Once you try it, there’s a good chance it’ll become one of your favorite apple desserts too.