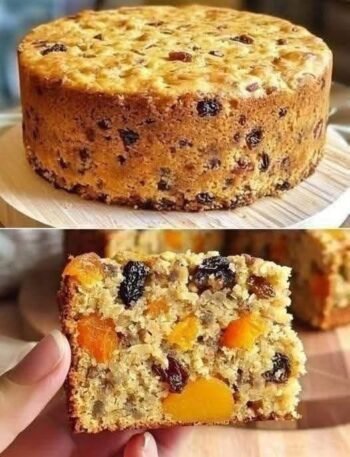
Making fruit scones in the air fryer for the first time? Try this easy recipe! They turned out so good I couldn’t believe I made them. Quick, golden, and delicious.
The Best Air Fryer Fruit Scones Ever!
Honestly, I usually stick to my trusty oven when it comes to baking. The idea of putting dough into an air fryer always felt a little intimidating to me. But the other day, I was craving something sweet for my afternoon tea and didn’t want to wait for the oven to preheat. So, I decided to try making fruit scones for the first time in my air fryer.
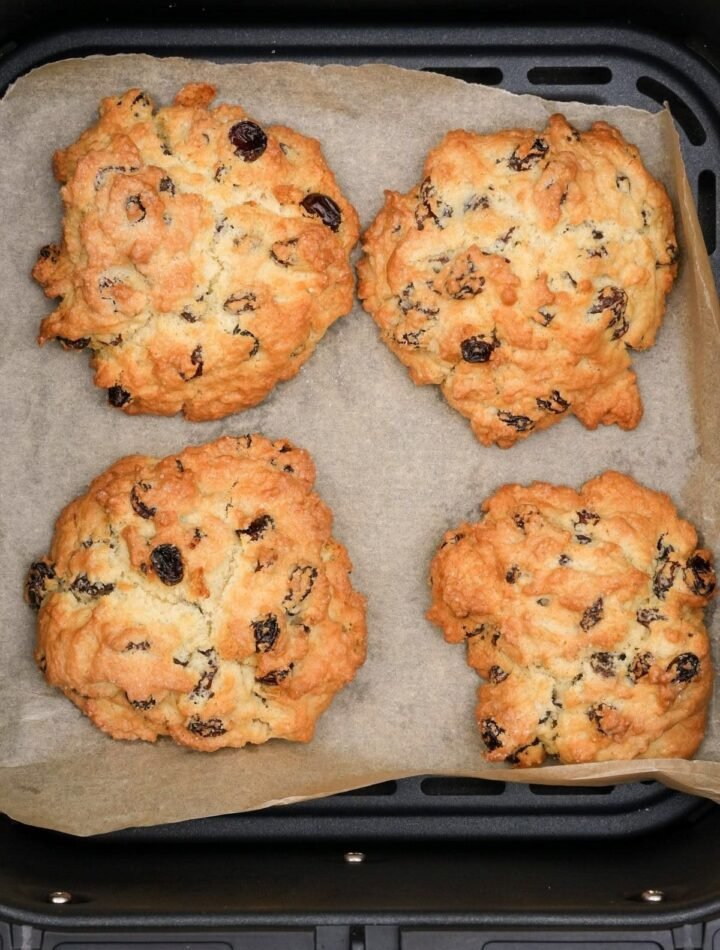
You guys, these are the best fruit scones ever. They turned out so good I couldn’t believe I made them! If you look at my before-and-after shot in image_d6c706.jpg, you can see exactly how beautifully they puffed up and browned. The outside gets perfectly crusty while the inside stays fluffy and soft.
I’m so excited to share this with you all. Please drop a comment or express something below if you want to keep getting my recipes… Thank you! Now, let’s get baking.
What You’ll Need (Ingredients)
I usually have most of these sitting in my pantry, which makes this recipe dangerously easy to whip up on a whim!
-
2 cups Self-raising flour (If you only have all-purpose, just add 2 tsp of baking powder)
-
1/4 cup Caster sugar (superfine sugar)
-
1/2 cup Unsalted butter (Make sure it’s straight-out-of-the-fridge cold, cut into small cubes)
-
1/2 cup Raisins, sultanas, or currants (whichever you prefer!)
-
1 Large egg
-
1/4 cup Milk (plus just a tiny splash extra for brushing the tops)
-
A pinch of salt
Step-by-Step Method
-
Prep the Dry Mix: In a large mixing bowl, toss together your flour, sugar, and a pinch of salt.
-
Rub in the Butter: Drop your cold, cubed butter into the flour. Use your fingertips to gently rub the butter into the flour until the mixture looks like coarse breadcrumbs. (Honestly, this is my favorite part—it’s so therapeutic!).
-
Add the Fruit: Stir in your raisins or sultanas until they are evenly mixed through the flour.
-
Make the Dough: In a small bowl, lightly whisk the egg and the milk together. Pour this wet mixture into your dry ingredients. Use a butter knife or a spatula to gently fold it all together until a dough just starts to form. Stop mixing as soon as it comes together!
-
Shape: Divide the dough into 6 equal pieces. Gently shape them into rough, rustic balls.
-
Prep the Air Fryer: Line your air fryer basket with a piece of parchment paper. Place your dough balls inside, leaving a little space between them so they can grow. Lightly brush the tops with a little extra milk—this gives them that gorgeous golden crust.
-
Bake: Pop the basket into the air fryer and cook at 180°C (350°F) for about 12 to 14 minutes. Keep an eye on them around the 10-minute mark, as every air fryer is a little different!
-
Cool: Carefully remove them (they will be hot!) and let them cool on a wire rack for a few minutes before diving in.
My Top Cooking Tips
-
Keep it Cold: The secret to a flaky scone is cold butter. If your kitchen is really hot, you can even chill your flour beforehand!
-
Don’t Overwork the Dough: I cannot stress this enough. If you knead the dough like bread, your scones will turn out like literal rocks. Mix until just combined.
-
Use Parchment Paper: As you can see in
image_d6c706.jpg, putting parchment paper down prevents sticking and makes cleanup a breeze. Just make sure the paper doesn’t fly up into the heating element!
Serving Suggestions
I highly recommend serving these slightly warm. Split them in half and slather them with a generous layer of clotted cream and strawberry jam. Pair it with a hot cup of Earl Grey or English Breakfast tea, and you’ve got the perfect afternoon treat.
Nutrition Info (Approximate per serving)
Yields 6 scones
-
Calories: 280 kcal
-
Carbohydrates: 42g
-
Protein: 5g
-
Fat: 10g
-
Sugar: 14g
Conclusion
I am officially an air fryer baking convert. These fruit scones are rustic, golden, and took half the time my oven normally takes. I hope you give these a try because they really are life-changing! Don’t forget to interact with this post so I know to keep sharing my kitchen experiments with you all!
Frequently Asked Questions (FAQs)
1. Can I use frozen butter? Yes! Actually, grating frozen butter into the flour is a fantastic hack. It keeps the butter super cold and makes it easier to mix into the dry ingredients without melting from the heat of your hands.
2. Why did my scones turn out hard and dense? This usually happens for two reasons: either the dough was overmixed, or the baking powder/self-raising flour is expired. Remember to be very gentle with the dough!
3. Do I need to preheat my air fryer? I honestly didn’t preheat mine for this recipe, and they turned out perfect. However, if your air fryer model specifically requires preheating for baking, you can preheat it for 3 minutes before putting the scones in.
4. Can I omit the raisins? Absolutely. If you aren’t a fan of dried fruit, just leave them out! You’ll be left with a beautiful, classic plain scone that is just as delicious with jam and cream.
5. How long do these keep? Like all scones, they are definitely best eaten on the day they are made. However, you can store them in an airtight container at room temperature for up to 2 days. Just pop them back in the air fryer for 1-2 minutes to revive them before eating!